Additional Info: We couldn't locate the device. In order to find the nearest Vendor, supply your desired location.
Additional Info: We couldn't locate the device. Unfortunatly your browser seems not to support geolocation. Please supply your desired location.
Additional Info:In order to find the nearest Vendor, supply your desired location.
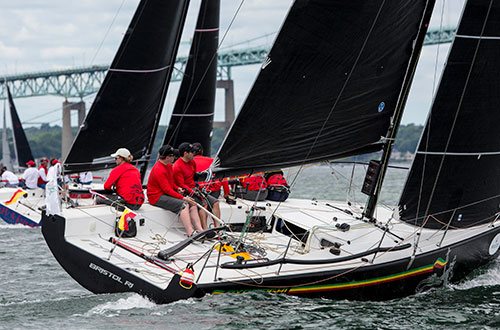
Grand Prix Racing
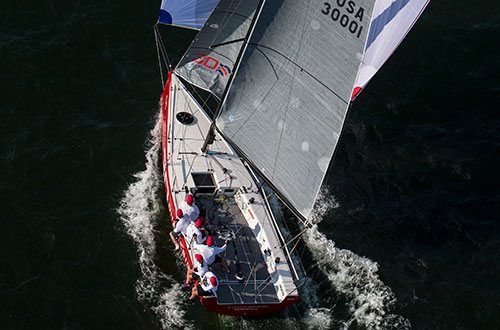
Performance
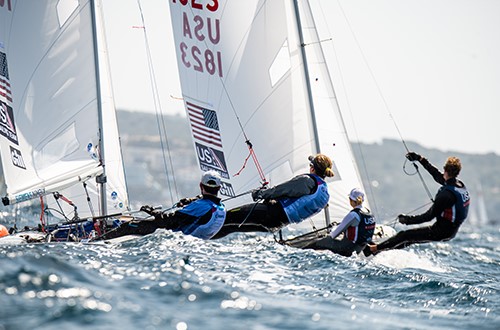
Dinghy and One Design Racing
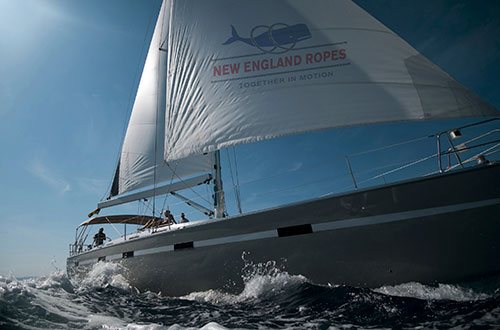
Performance Cruising
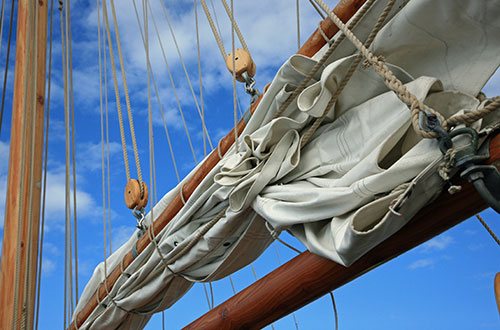
Traditional Rigging
Mega Yacht Rigging
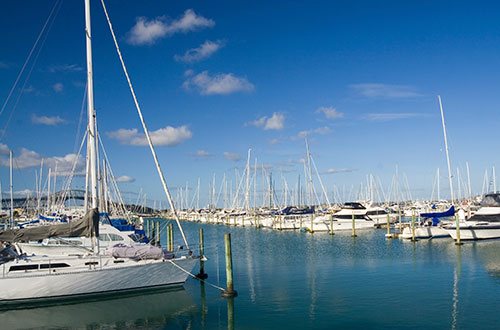
Anchoring and Docking
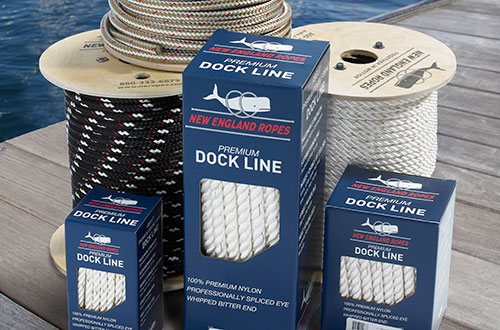
Packaged Goods
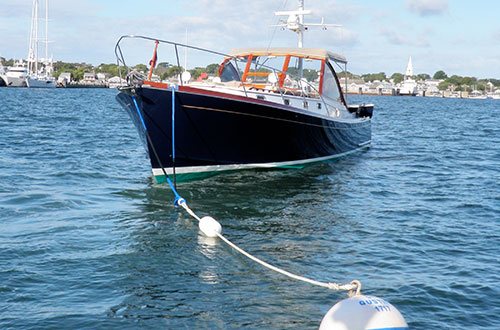
Mooring Pendants
Cords and Accessoires
Hook & Moor