


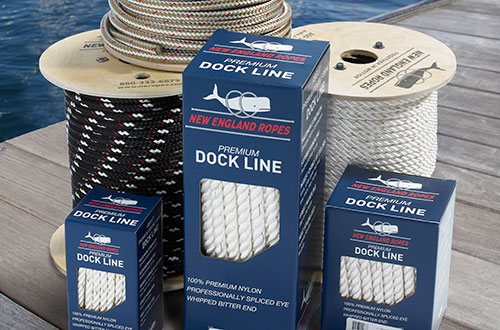


Sta-Set X/PCR Splice

Figure 1
Step #1: Measure back from the bitter end 1 long fid sec- tion, to make Mark “A”. Form desired eye size. (If a thimble is to be used form the rope around it with “A” as one side.) Make a mark directly across from “A”, this is Mark “B”. Measure back 1 full fid lengths from “B” to Mark “C”. Tie a slipknot some 8 to 10 fids further up the rope. (Fig. 1)

Figure 2
Step #2: Extract core from rope at Mark “B” as shown, (Fig. 2). Tightly tape the end of the core. Slide cover down the core as far as possible toward the knot. Now smooth the cover from the knot toward the end of the core. Mark core where it exits from cover and make Mark “1”. Slide cover back down core, measure 1 short fid length from Mark “1” towards knot and make Mark “2”. Place a single wrap of tape around core at Mark “2”. (Fig. 2)

Figure 3
Step #3: Taper the end of the core tail and attach fid. Slit and remove the fabric tape covering the core from Mark “2” to the end of the fid, exposing the parallel core yarns. (Fig. 3)
If a closed termination is being placed in the eye, slide the hardware onto the core at this time. Insert tip of fid into the cover at Mark “A” and work it down the rope and out at Mark “C”. Do not snag any cover yarns with the tip of the fid.
Note: Slack may be introduced into the cover to open it up by pulling out more of the core from Mark “B”. (Fig. 4)

Figure 4
Step #4: Pull slightly more than a short fid length of core out of rope at Mark “C.” (Fig. 5) Measure and mark the core fibers 1 short fid length from the end. Fan the core fibers and cut at a 45° angle from the mark to the bottom end. (Fig. 6)
Step #5: From Mark “A” on cover, count 5 pics toward end of cover tail. Unbraid cover from end back to this point; and cut at a 45° angle from the mark to the end. Carefully pull core back out of cover at Mark “A” until Mark “2” on core (where tape was applied in Step 2). lines up with Mark “A”. This is the crossover point. Tightly tape the tapered end of the cover to the core starting from Mark “A” and working toward the end of the cover. Use masking tape and overlap …

Figure 5
… each wrap of tape as little as possible. After taping, roll the taped section between your hands to smooth the taped area. (Fig. 6)
Note: It may not be possible to bury the cover tail on every rope. If it is not possible then cross stitch and whip the cover tail to the outside of rope after burying the core.

Figure 6
Step #6: Attach the knot to a secure anchor point (a good deal of tension may be required to bury the splice). Bury the exposed section of the splice up to the crossover point by milking the cover back up the rope from the knot while holding rope at Mark “A.” Keep the exposed core under tension while milking the cover. If the rope gets too tight when the crossover is being buried, flex and/or hammer the crossover to loosen the fiver. Continue the process until crossover is buried up to Mark “A” and the cover is snug around the eye. To assist in the final bury, insert a large fid or rod through the eye and give a sharp tug. Seize, cross-stitch or whip the throat.